What is Rucking?

Rucking is walking with weight in a backpack (a “Ruck”) for a set time, distance, or pace. Think “urban hiking.” As a workout, Rucking has three dials you can turn: load (weight), distance, and duration. It’s popular because it delivers a legit cardio + strength stimulus without the joint pounding of running, and it’s extremely beginner-friendly if you start light and progress slowly. Wild Gym’s beginner guidance is to start with 10–20 pounds a few times per week, then add weight and go longer as you get stronger, and do a little mobility afterward.
Rucking explained so you can say it in one sentence
If you want the simplest definition you can repeat to a friend:
Rucking is walking with weight on your back.
That’s it.
It can be:
-
a 20-minute neighborhood loop with 10 pounds
-
a 60-minute trail hike with 20–30 pounds
- a weekly “hard day” on hills with a little more load
-
a Zone 2 cardio session that doesn’t beat you up
Cleveland Clinic literally describes it as walking a set distance while carrying a weighted pack and calls it “urban hiking.”
Why Rucking works (and why it’s different than “just walking”)
A normal walk is great. It’s underrated. Most people should walk more.
Rucking is what happens when you take that same walk and add just enough load to create a training effect.
Here’s what changes when you add weight:
1) Your heart works harder at the same pace
You can hit a steady aerobic effort (the “brisk but sustainable” zone) without needing to run.
2) Your legs and hips do more work
Every step costs a little more. Over time, this builds strength endurance in the exact muscles most of us want stronger: glutes, quads, calves, feet.
3) Your posture and trunk get trained
A Ruck challenges your “carry position.” Core, upper back, and stabilizers have to keep you tall and stacked.
- 4) It’s scalable without being complicated
You don’t need fancy programming. You just adjust one of three dials:
-
Load (weight)
-
Distance
-
Duration
That’s the whole game.

What you need to start Rucking
Minimum viable Ruck (start today)
If you want to try Rucking right now:
-
Any backpack
-
A weight that won’t shift (books wrapped in a towel works)
-
Comfortable shoes
This is exactly how many people start. Even GoRuck says you can start with dumbbells, books, or bricks wrapped in a towel.
Beginner-friendly setup (what I recommend if you want it to feel good)
If you want Rucking to become a habit, not a one-time stunt, two things matter:
-
Stable weight placement
-
Comfortable carry
That usually means:
-
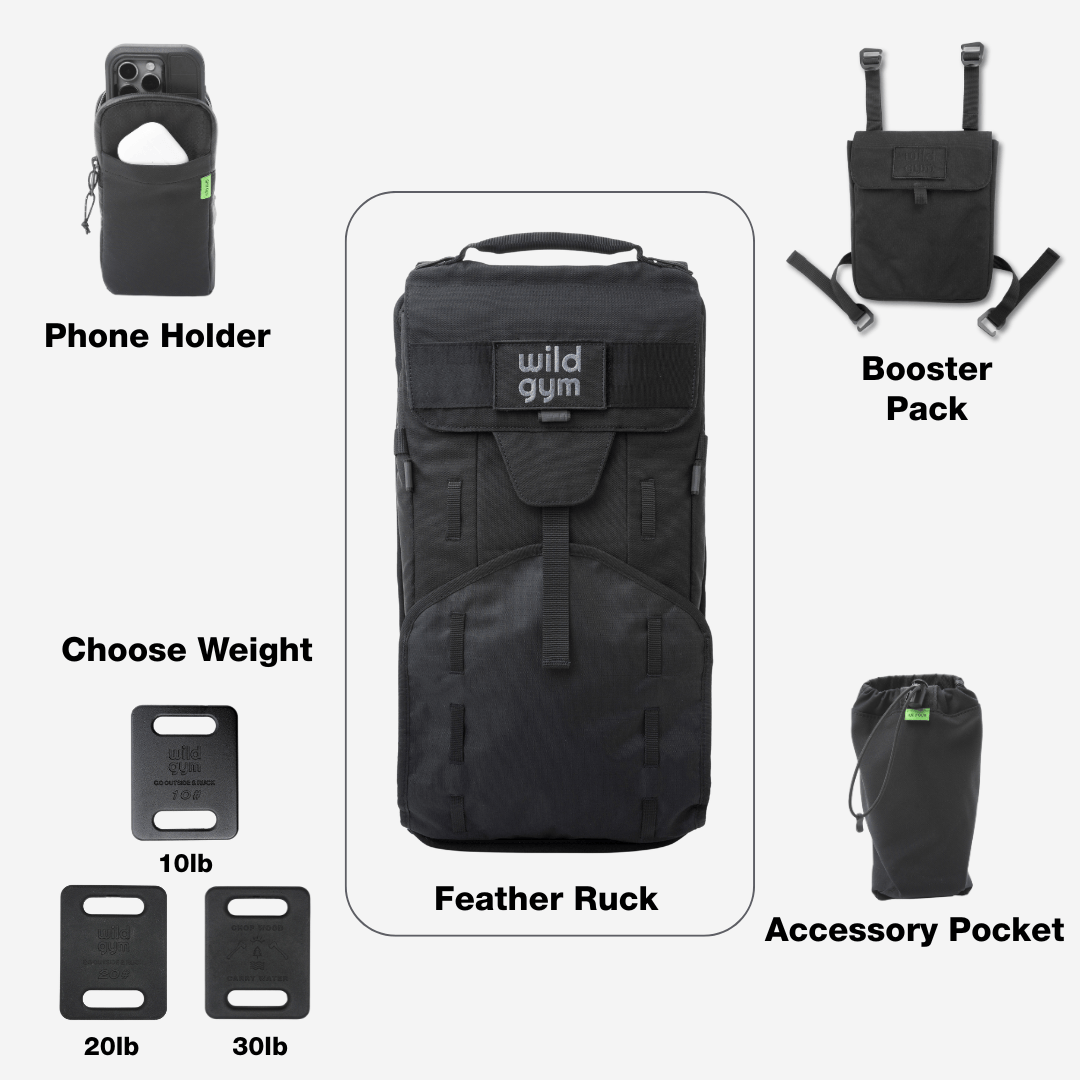
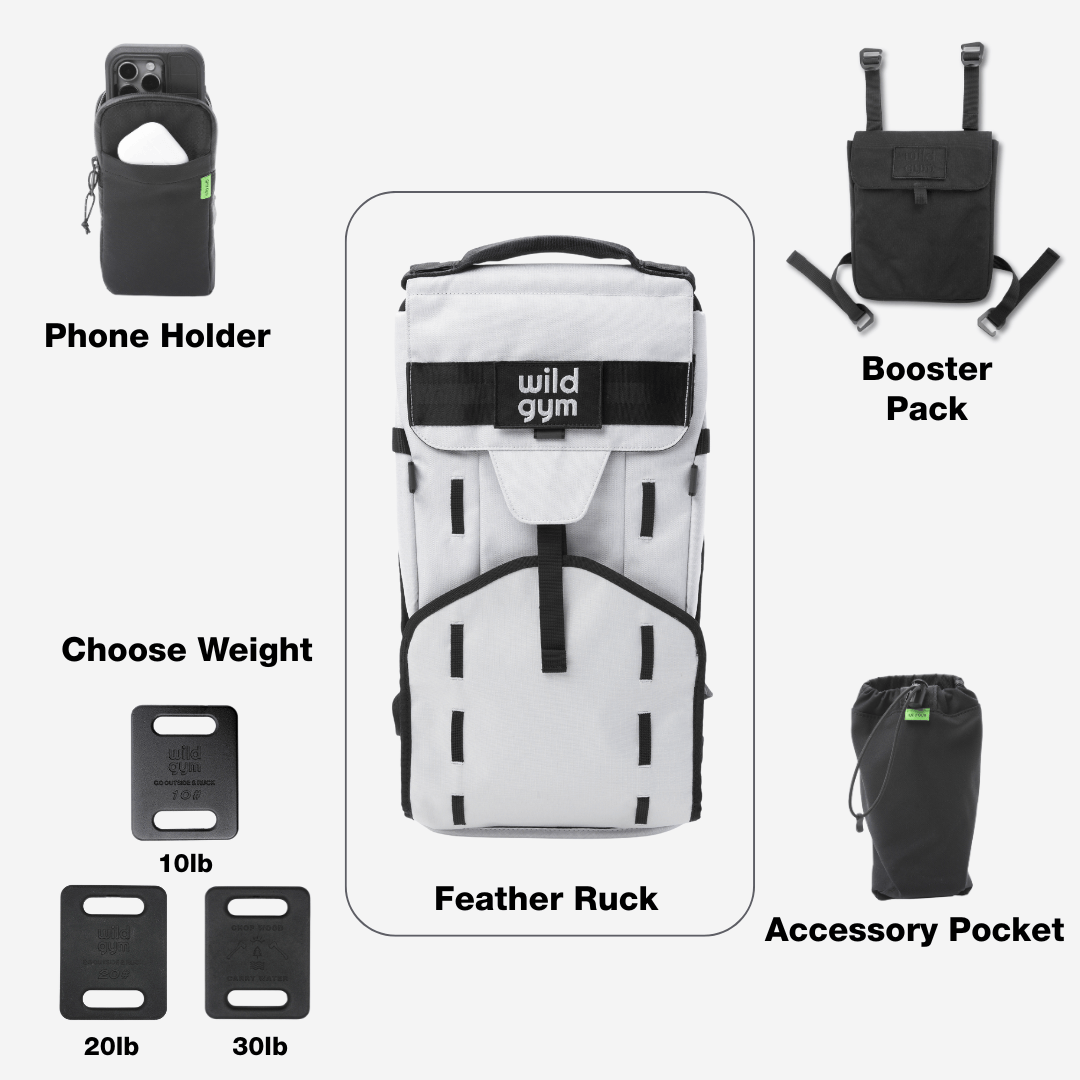
A Rucking backpack with a dedicated plate pocket (weight stays high and stable)
-
A 10 lb and 20 lb plate (gives you 10, 20, and 30 as options)
-
Optional hip belt for longer/heavier sessions
Wild Gym specifically recommends starting with 10–20 lb, and our resources also suggest getting both a 10 and a 20 so you can progress without overthinking it.
How to get started Rucking (beginner step-by-step)
This is the part most beginners need. Simple rules that keep it safe and effective.
Step 1: Start light
Wild Gym guidance:
-
Most people start 10–20 lb
-
Over 150 lb, start with 20
-
Under 150 lb, start with 10
GoRuck has a similar principle: when in doubt, start with 10–20.
Step 2: Start with time, not distance
Distance makes beginners do dumb things like “I’m already out here, I’ll just keep going.”
Time keeps it clean.
Start with:
-
20–30 minutes
-
2–3 days per week
-
flat route
Your first Rucks should feel like:
“Brisk walking with purpose.”
Not:
“A death march.”
Step 3: Keep posture tall and weight high
The number one beginner mistake is letting the weight sit low and sloppy.
Keys:
-
Keep the weight high on your back
-
Snug the straps enough that it doesn’t swing
-
Walk tall, ribs stacked over hips
GoRuck even calls out keeping the weight high and stable next to your back as a starting tip.
Step 4: Progress one dial at a time
Remember the three dials (load, distance, duration).
Beginners should change only one per week:
-
add 5–10 minutes or
-
add a small hill or
-
add 5 pounds
If you increase two or three at once, your joints and connective tissue will usually be the thing that taps out, not your lungs.
Step 5: Do a tiny bit of mobility afterward
Calves, hip flexors, and upper back get tight with loaded walking.
Wild Gym literally tells people to stretch and work mobility afterward.
Keep it simple:
-
calves (30–60 sec each)
-
hip flexor stretch (30–60 sec each)
- thoracic opener (a few deep breaths)

A simple beginner Rucking plan you can copy
Here’s a 4-week “starter block” that’s legit and realistic.
Week 1
-
2 Rucks
-
10–20 lb
-
20–25 minutes
-
flat route
Week 2
-
3 Rucks
-
same weight
-
20–35 minutes
Week 3
-
3 Rucks
-
same time
-
add a gentle hill OR add 5 lb (choose one)
Week 4
-
3 Rucks
-
keep the same weight
-
one “longer” Ruck (40–55 min) at easy pace
Wild Gym’s “Power of 3” model is literally built around Rucking + strength + mobility each week, and it’s a great structure for beginners because it keeps you balanced.
Common beginner mistakes (so you don’t learn the hard way)
-
Starting too heavy
Your lungs adapt fast. Your feet, shins, and connective tissue adapt slower.
-
Loose weight in a normal backpack
Bounce and sag turn Rucking into a neck-and-strap fight.
-
Going long + hilly + heavy on day one
That’s how you create knee pain and shin splints.
-
Turning every Ruck into a “hard workout”
Most Rucks should feel sustainable.
-
Skipping recovery and mobility
Small tightness becomes big tightness.
Sources
-
Cleveland Clinic definition of Rucking and the three training components (load, distance, duration).
-
Wild Gym “How to Start Rucking” guidance (start 10–20 lb a few times per week + mobility afterward).
-
Wild Gym “Rucking Resources” (over/under 150 lb start weights, 10+20 plate suggestion, Power of 3 model).
- WebMD beginner safety note (walk comfortably before adding load).
FAQ
What is rucking in one sentence?
Rucking is walking a set time or distance while carrying weight in a backpack.
Is rucking just hiking?
It’s related. Hiking is usually trails, terrain, and gear. Rucking is defined by the added weight, and it can be done anywhere, sidewalks included.
Do I need a special rucking backpack?
No. You can start with any backpack. But if you want it to be comfortable and scalable, a ruck with stable weight placement is a game-changer.
How much weight should I start with?
Wild Gym recommends 10–20 lb, with a simple rule: over 150 lb start at 20; under 150 start at 10.
How often should beginners ruck?
Start “a few times per week.” Wild Gym suggests starting with rucking a few times per week and building from there.
How long should a beginner ruck be?
Start with 20–30 minutes. Add time before you add a bunch of weight.
What pace should I ruck?
Brisk but controlled. You should be able to speak in sentences. If you’re redlining, it’s too heavy or too fast.
Does rucking build muscle?
It builds strength endurance and “carry strength.” If you want more muscle and bone stimulus, pair rucking with 2–3 simple strength sessions per week.
Is rucking safe for knees?
For many people it’s lower impact than running, but it’s not immune to overuse if you ramp too fast. Start light, keep the load stable, and avoid steep hills early.
What’s the best way to start if I’m totally out of shape?
Start with walking first. WebMD suggests you should be able to walk about 30 minutes comfortably before adding load. Then add 10 pounds and keep it short.
Featured collection